
HOW TO CREATE A GIF
Hey all! We see this question all the time and figured we would share a little how-to on how to make gifs using our MacBook Pro with Photoshop and an iPhone. They are a fun way to show some creativity and are pretty easy to make, if you know what you are doing. We also see some photographers not sharing them using the right settings (too slow/fast or there aren’t enough images), so we wanted to help! We used to make them with our Nikons, but ever since we switched to Sonys, it’s SOOOOO much easier to shoot and create.
For ways to make them better, make sure you are shooting on continuous and keep your camera as level as possible without moving it.
STEP 1
CHOOSE the images you want to use. We recommend using at least 10-20 images. You can use more/less, but the gif has to create a “scene” that makes sense.
STEP 2
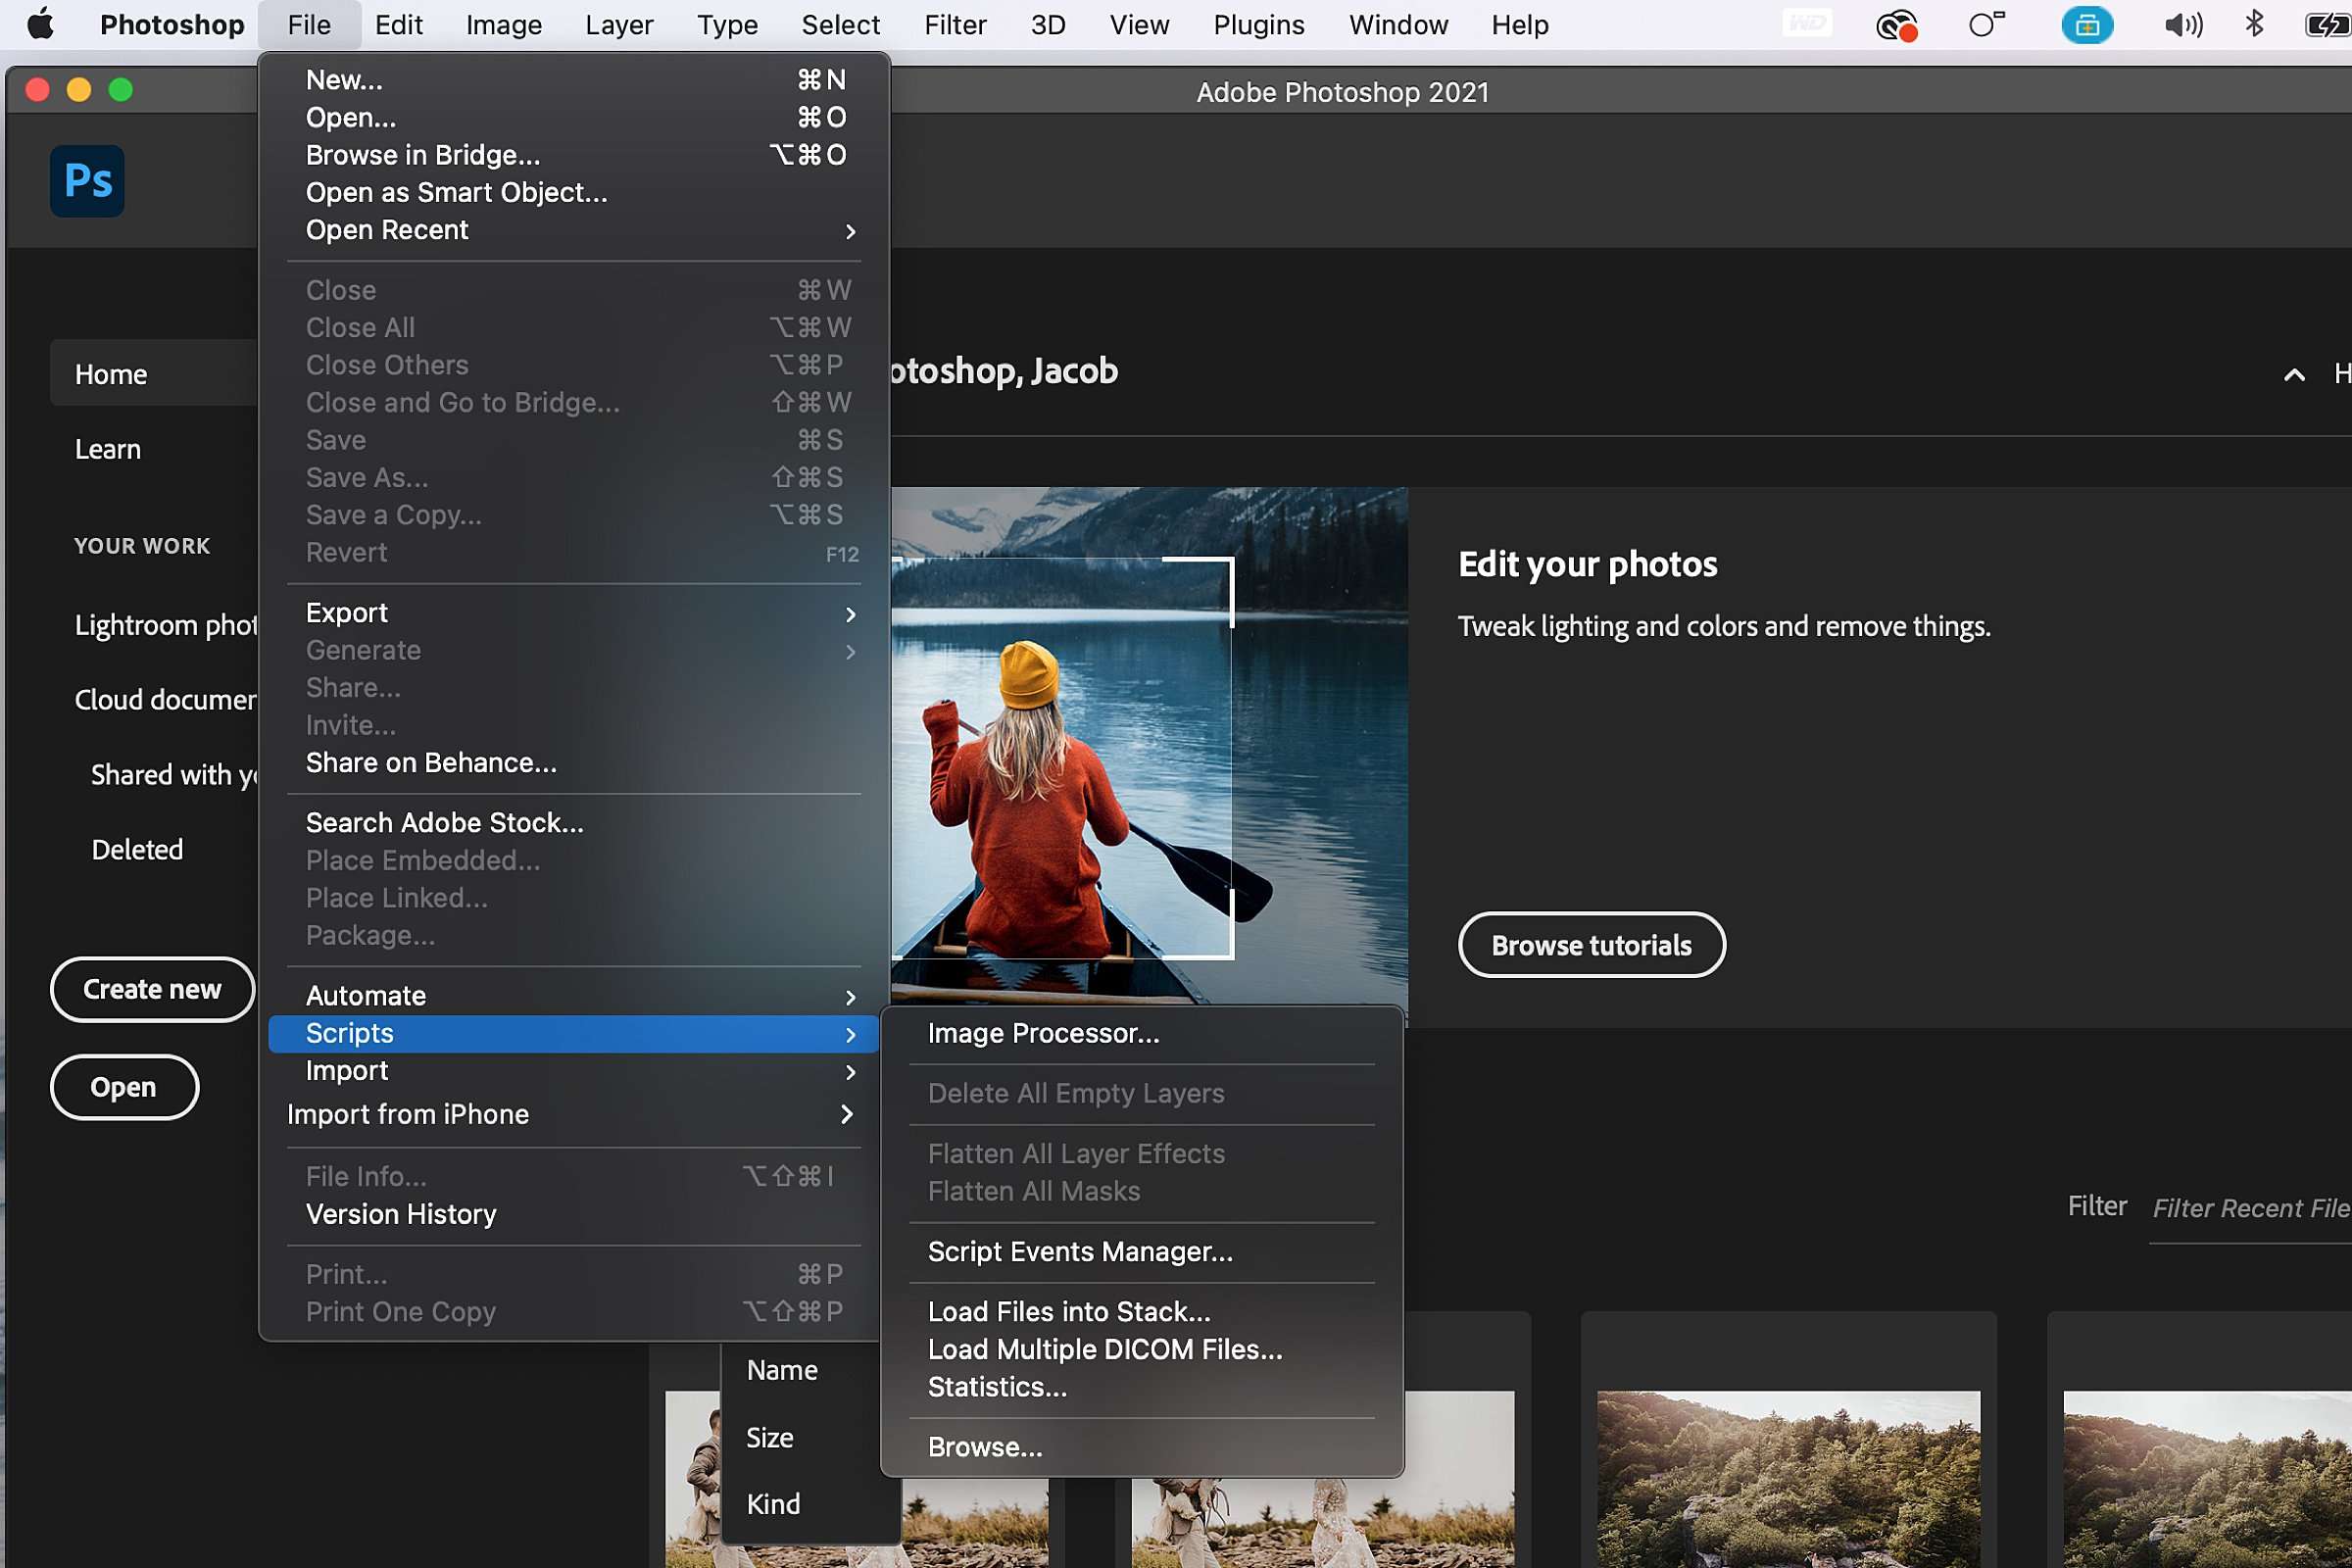
IMPORT the images to Photoshop.
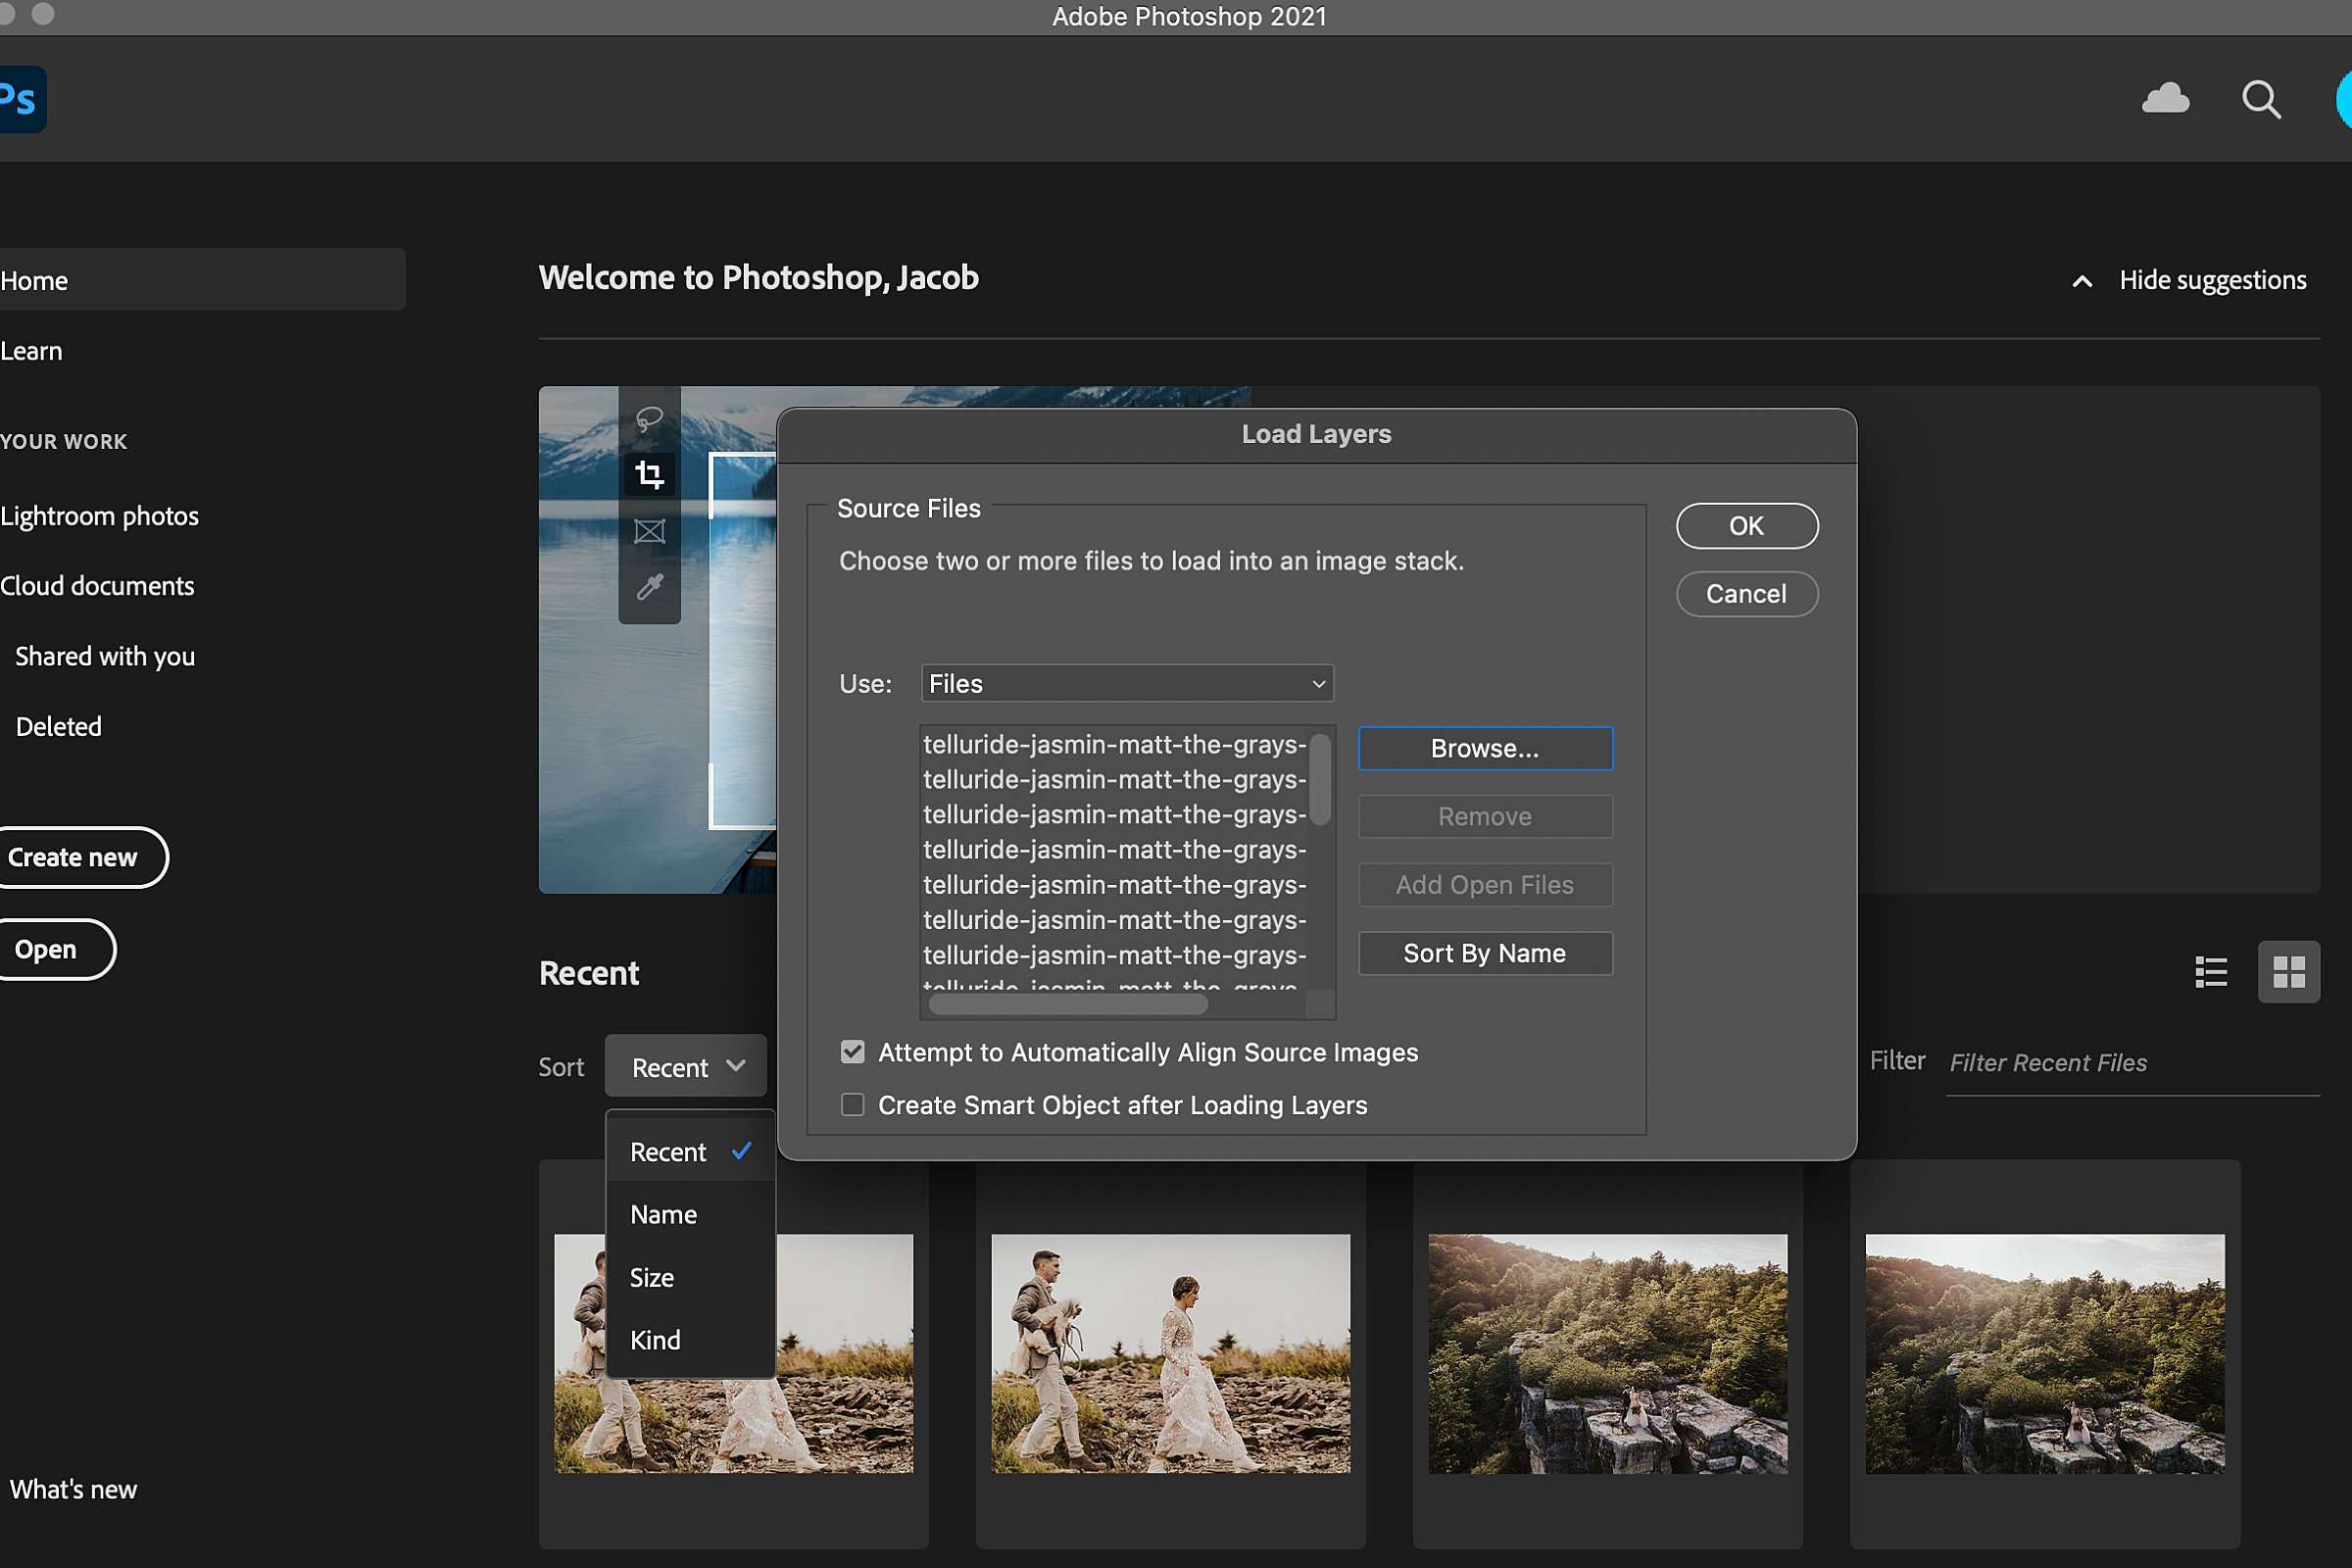
SELECT File < Scripts < Load Files into Stack
SELECT the images and check the box that says: Attempt to automatically align source images. (It doesn’t always work, but it’s a good start)
STEP 3
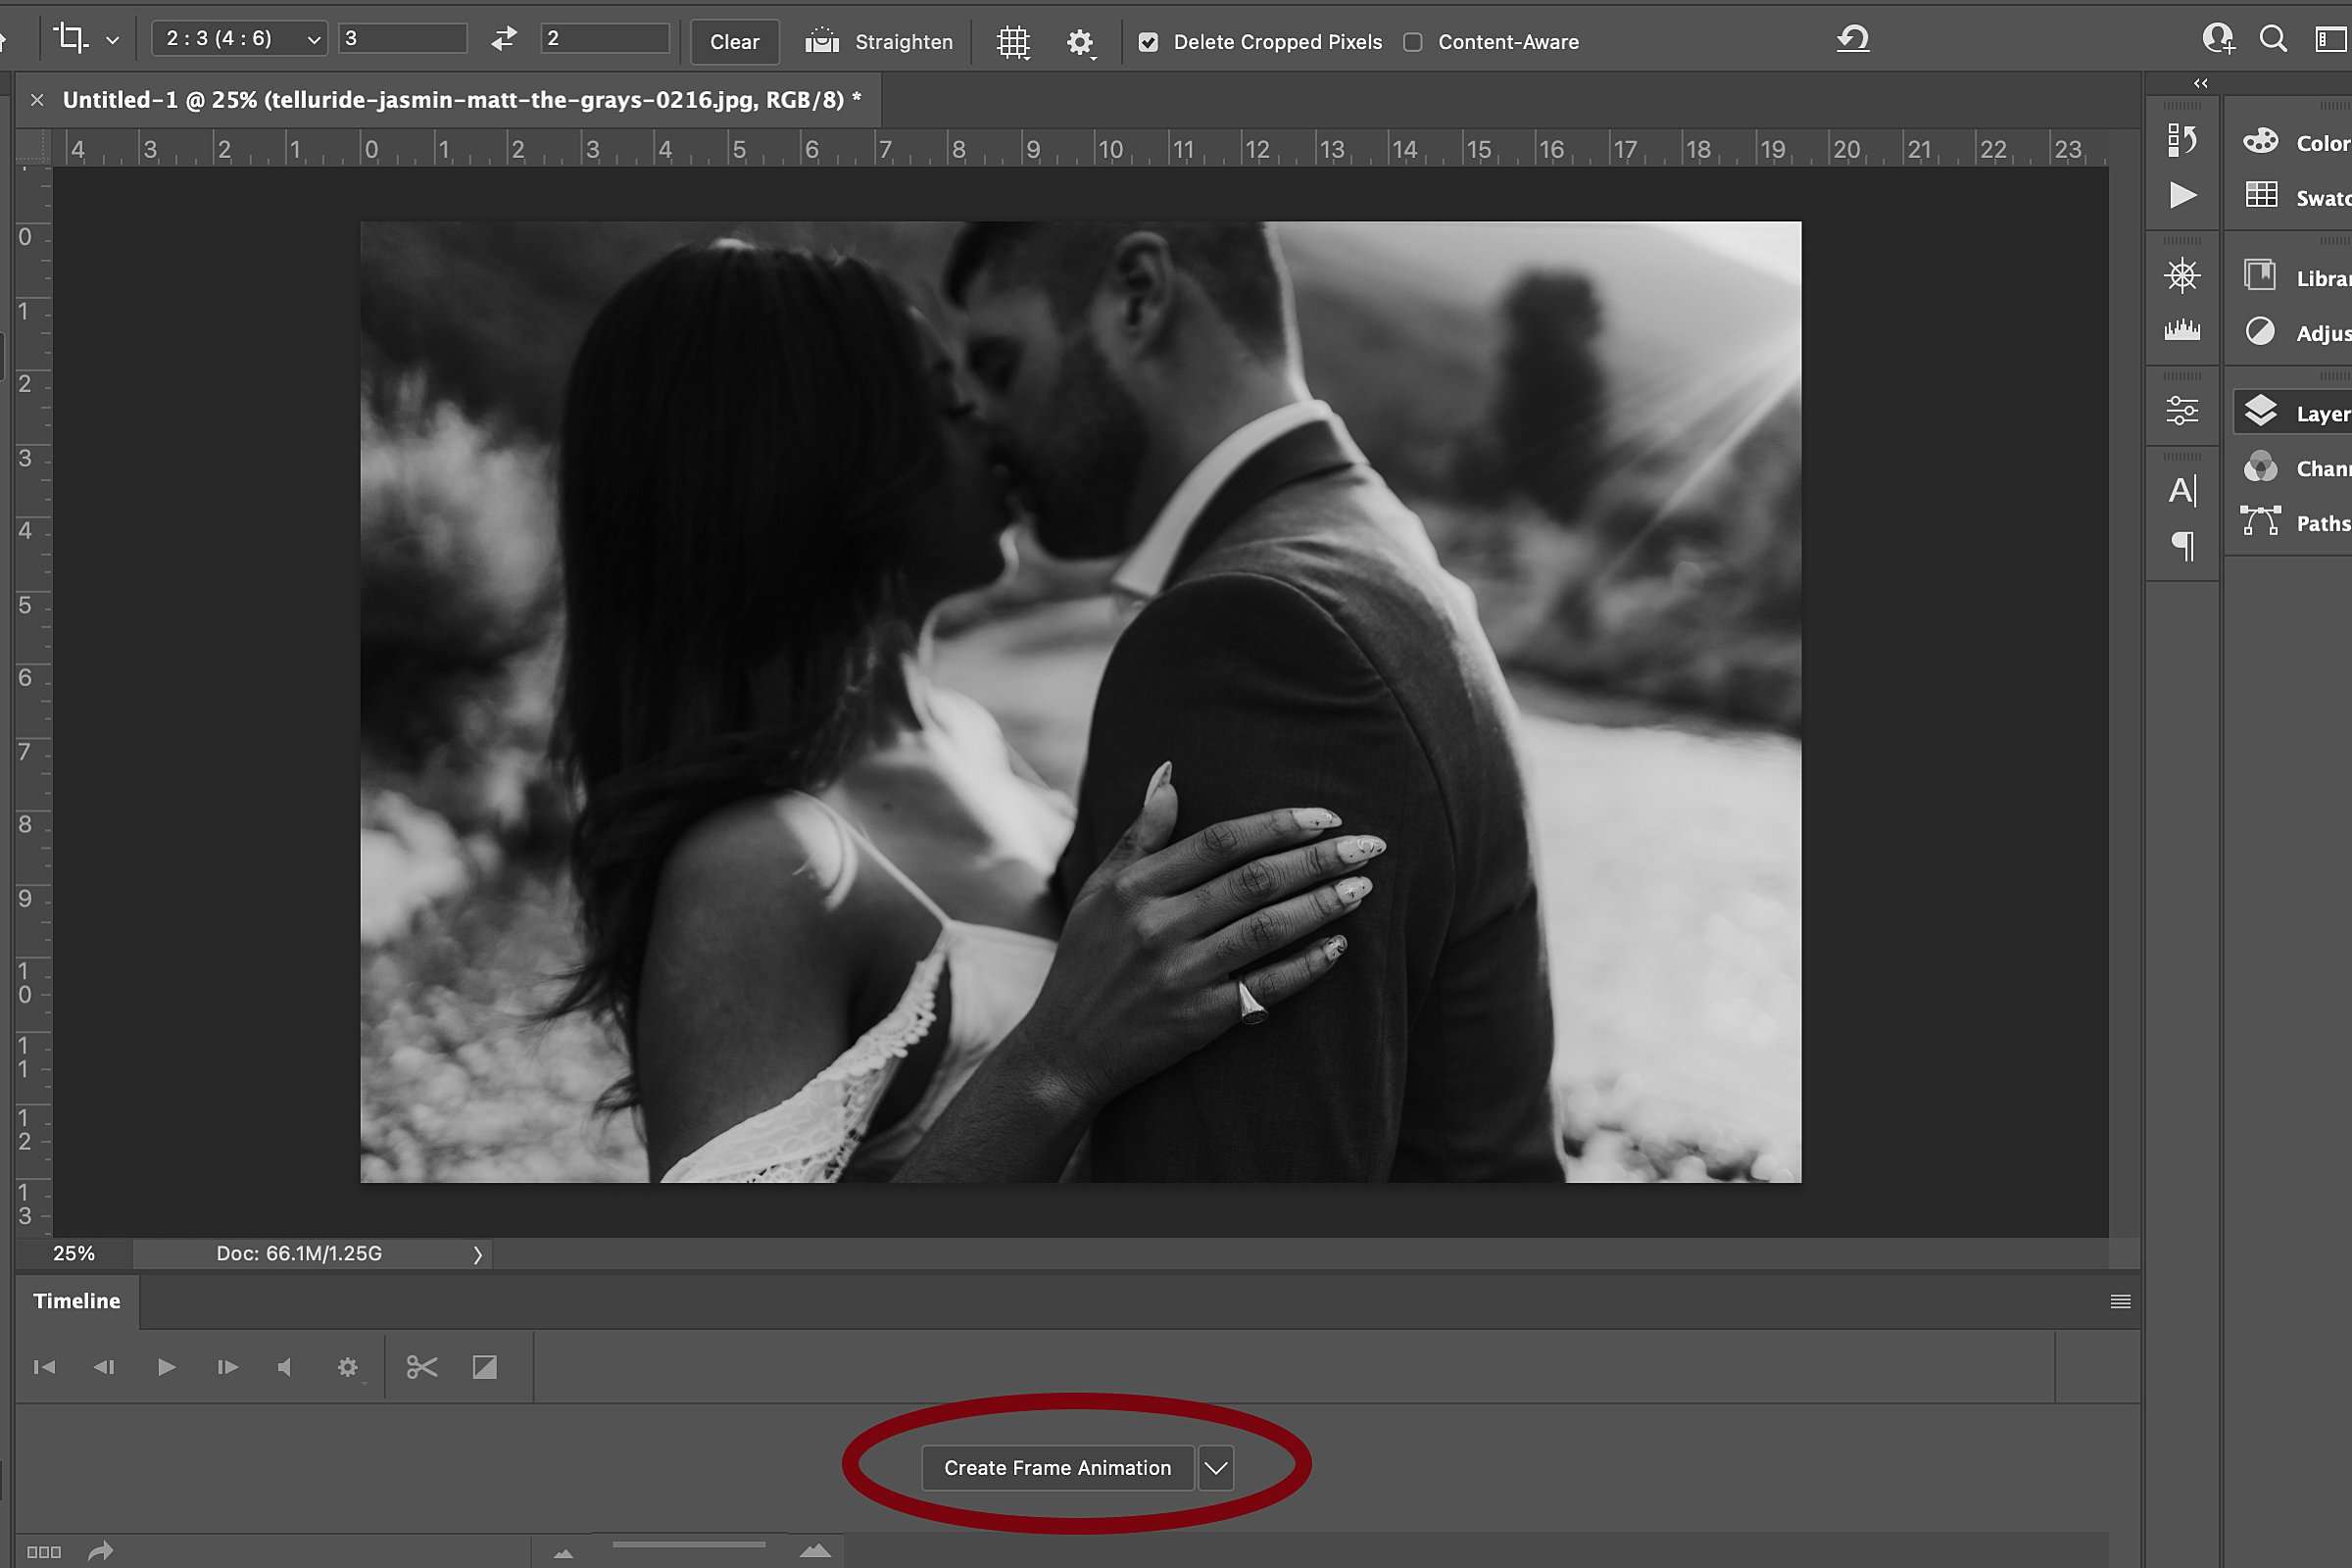
At the bottom, you will see a box with the Timeline.
SELECT Create Frame Animation < Make Frames From Layers
NOTE: Since, you used the align layers option, you might have to crop the image. We do it after it makes the frames from the layers.

STEP 4
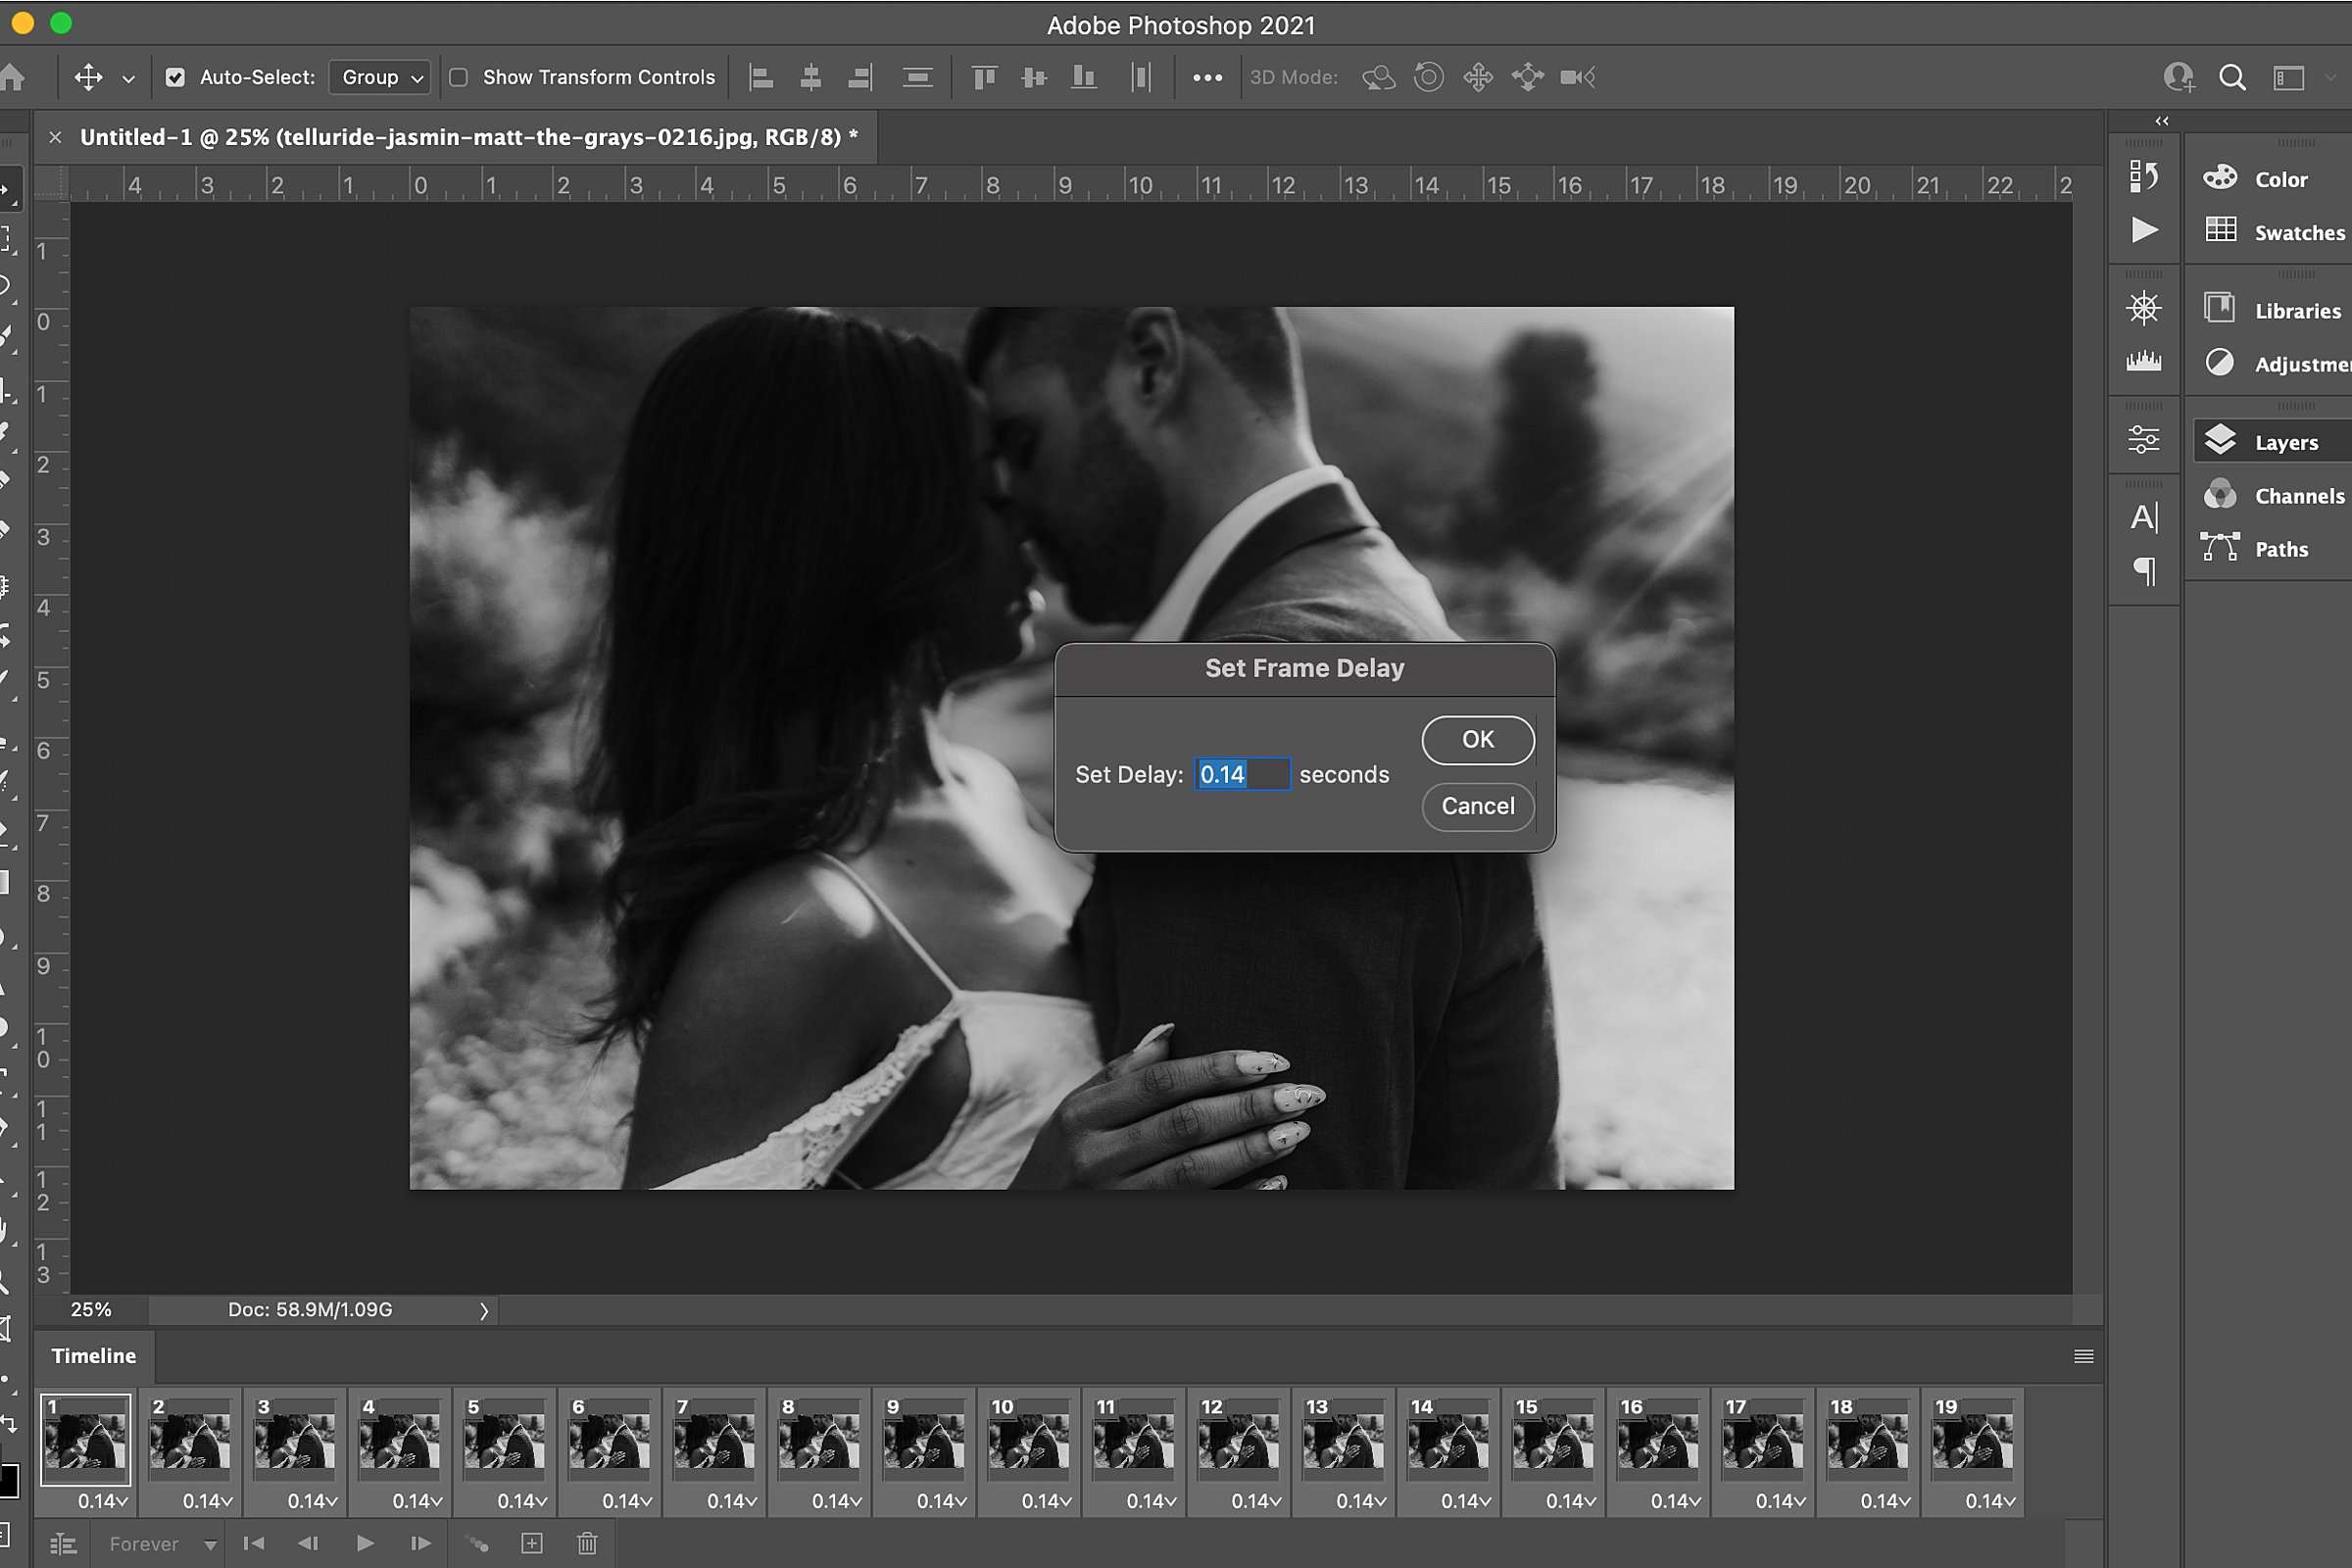
SELECT all the images in the bottom Timeline.
CLICK the arrow next to one of the images to set the frame duration.
CLICK other. Put it 0.14.
You can test it anywhere between 0.14-0.18 if you don’t like the speed, but we tend to stay at 0.14. Push the play button at the bottom to see if it’s where you want it to be.
STEP 5
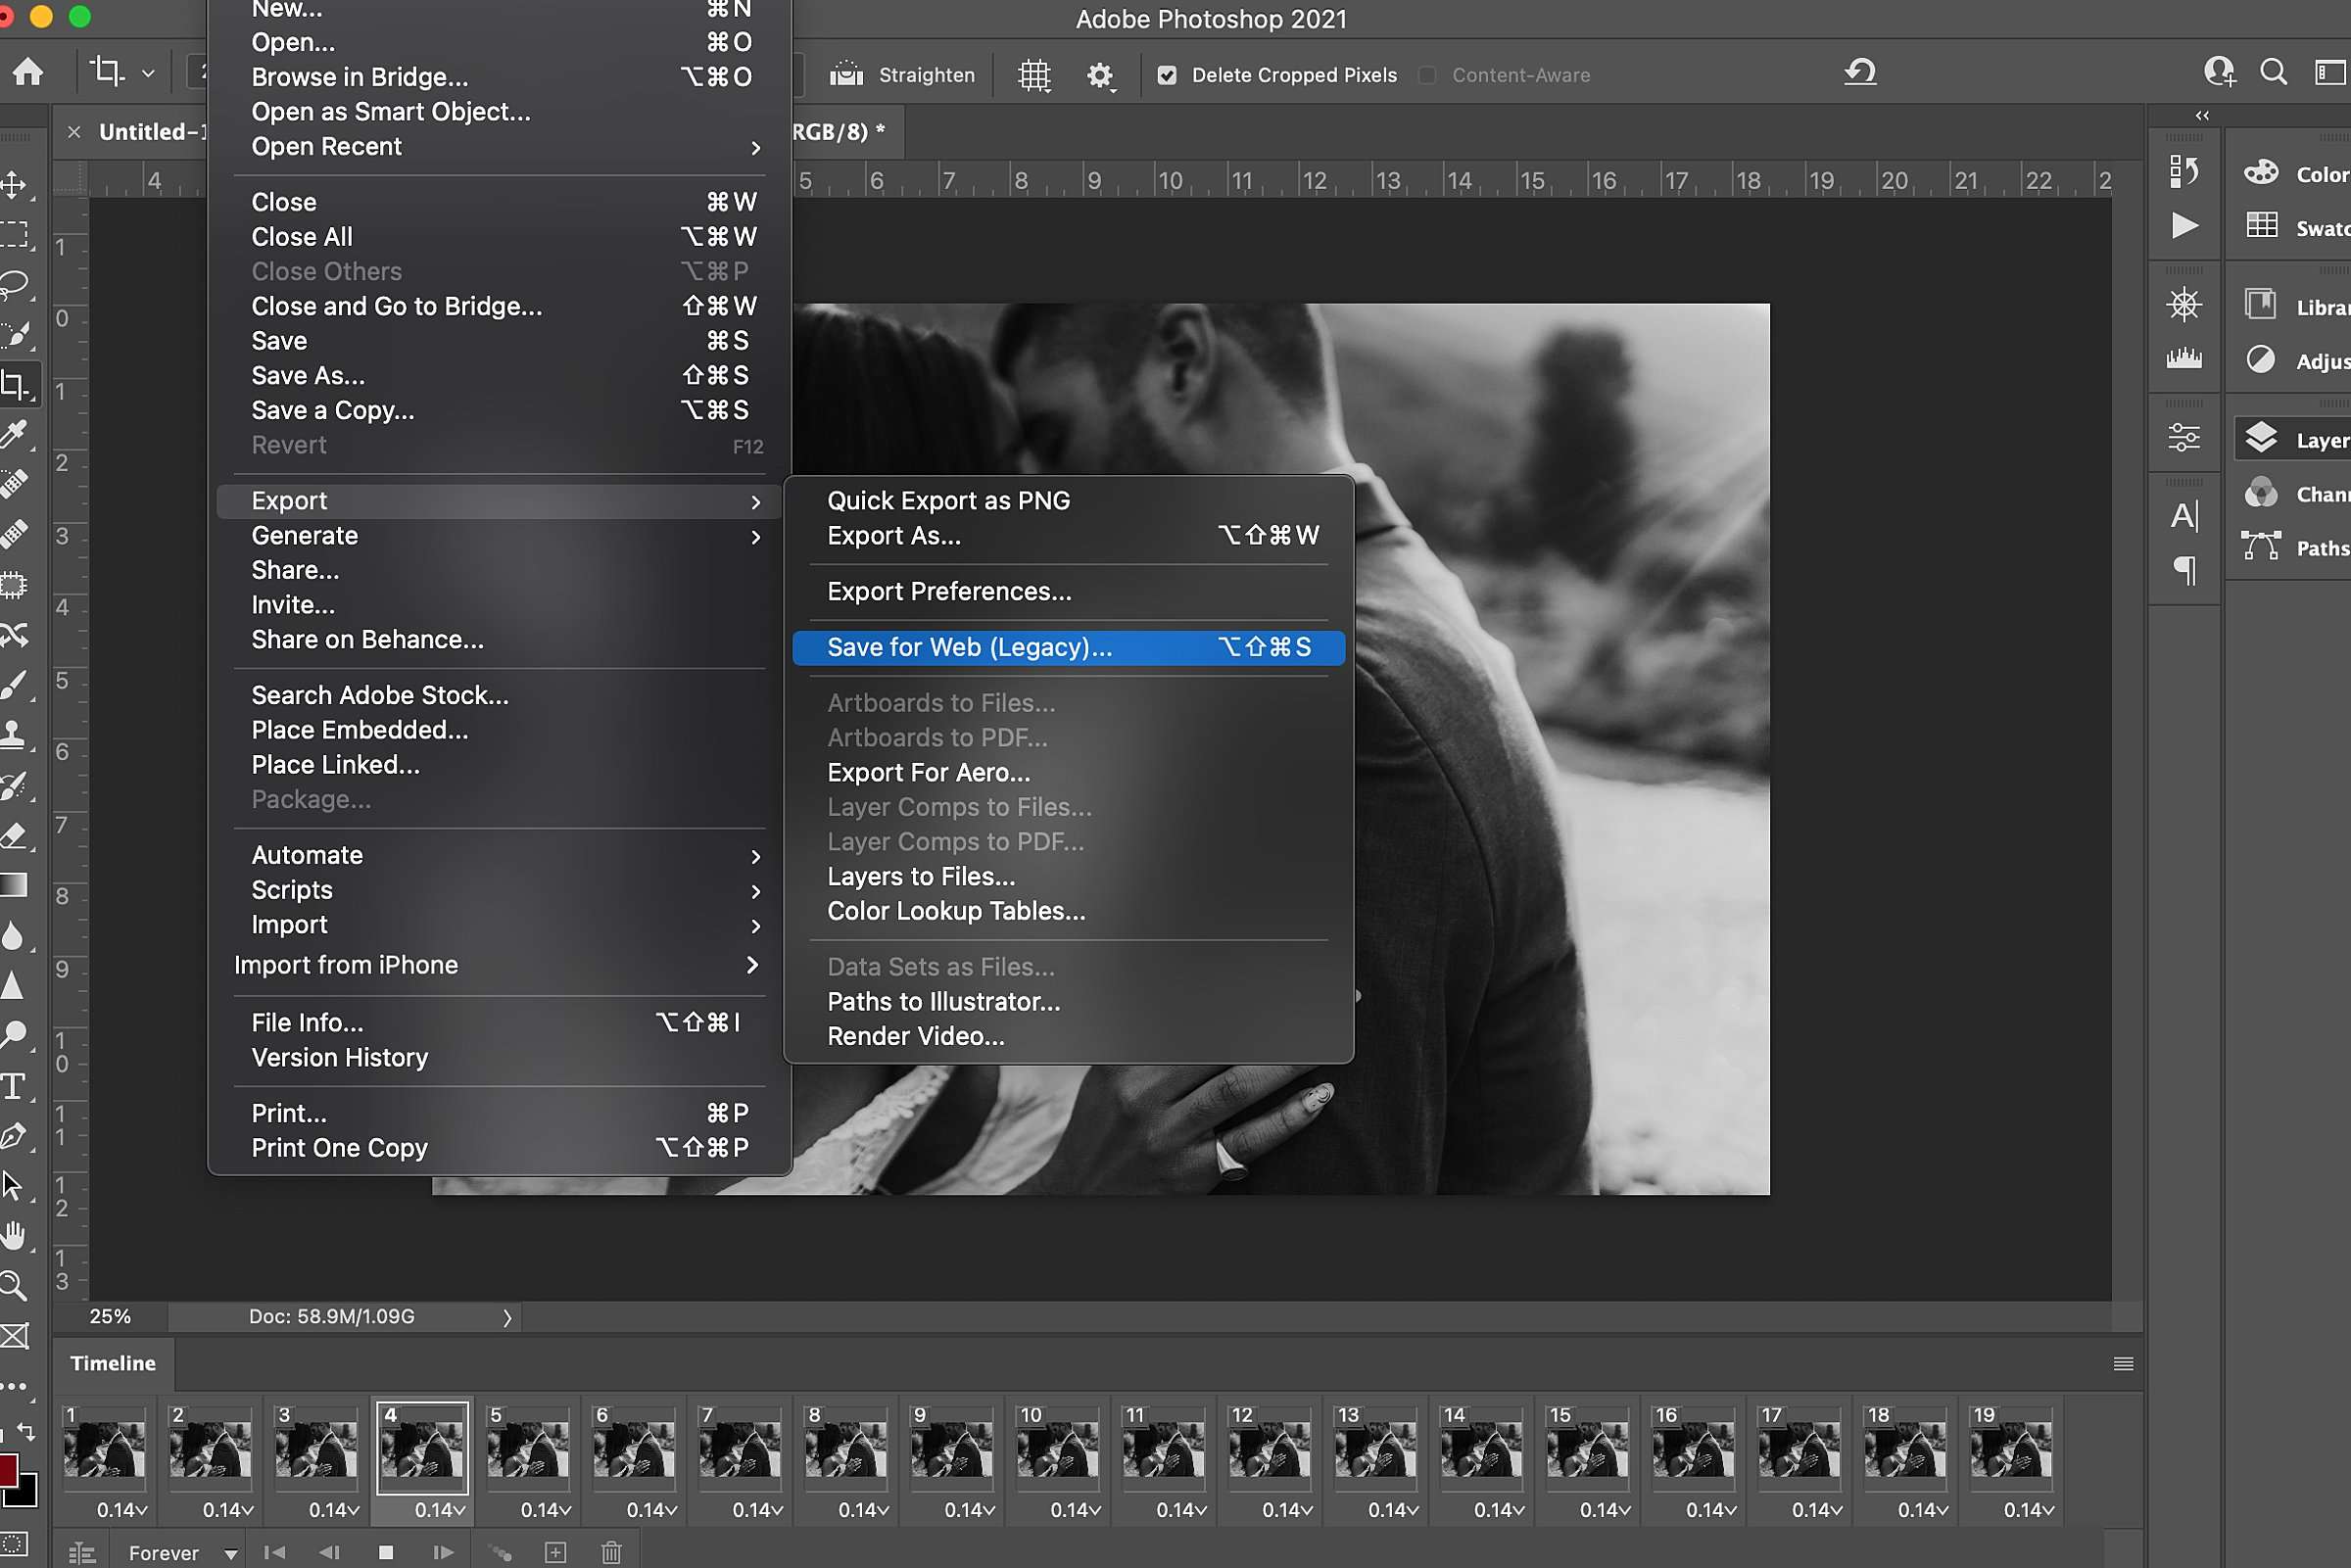
If it’s where you want it to be, now is the time to EXPORT.
CLICK File < Export < Save For Web (Legacy)
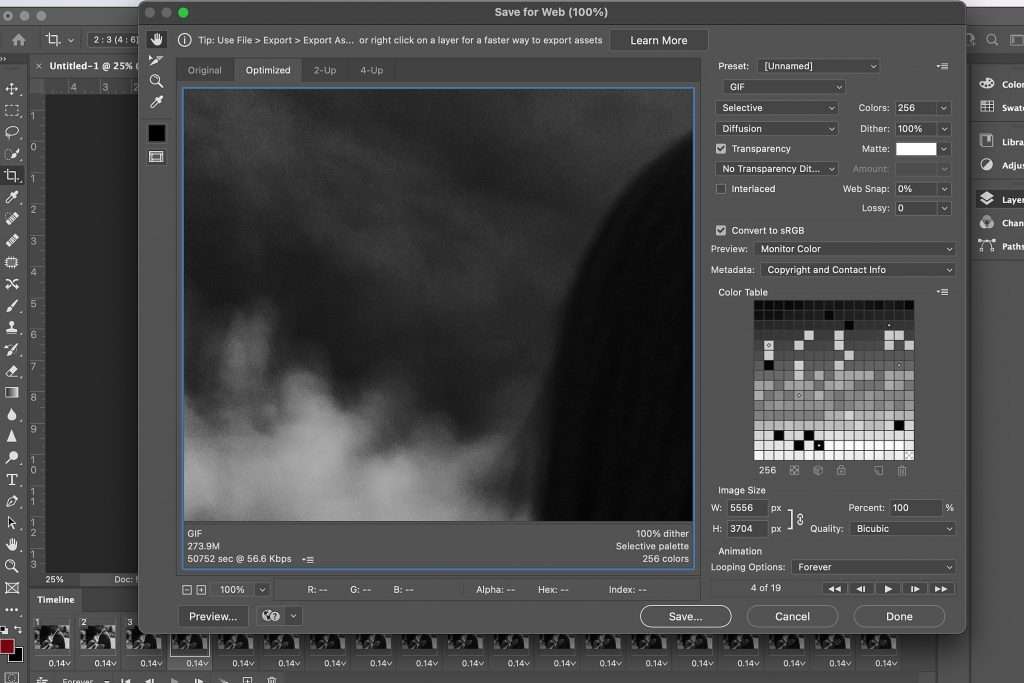
Make sure the settings are as the image shows (It’s easier to view the image so it makes sense but here are some of the settings):
GIF
SELECTIVE
DIFFUSION
TRANSPARENCY box is checked
NO TRANSPARENCY DITHER
DITHER: 100%
LOOPING: FOREVER
IMAGE DIMENSIONS: 1800×1200 (or 1200×1800 depending on orientation — portrait vs landscape)
Note: you might have to play with the size and quality to make it small enough to upload to your website, but this should work for social media.
CLICK Save
STEP 6 (to save as video)
You can also save for video if you want. You would have to CLICK File < Export < Render Video and Save
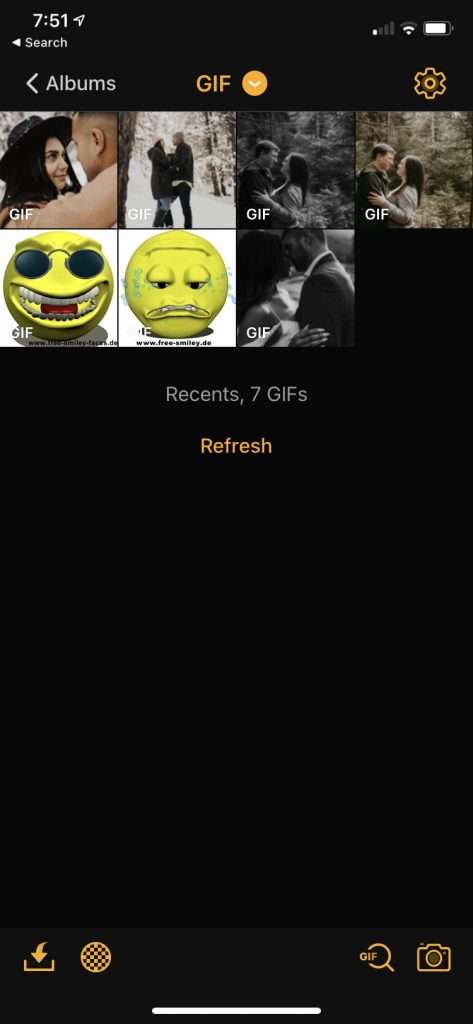
We actually skip this most of the time and use an app for social media. It’s called IMGPlay and it’s super easy to use. Just airdrop your gif to your phone.
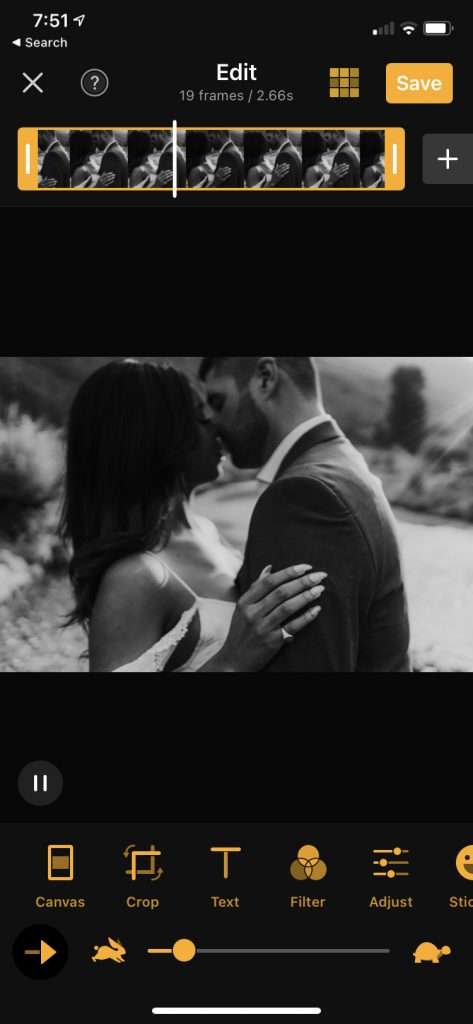
OPEN IMGPlay.
SELECT the gif you want to use (ignore the funny face gifs…our twins love to do stuff on our phones — lol).
SAVE to Photos and select as video, High Quality and 10 loops.
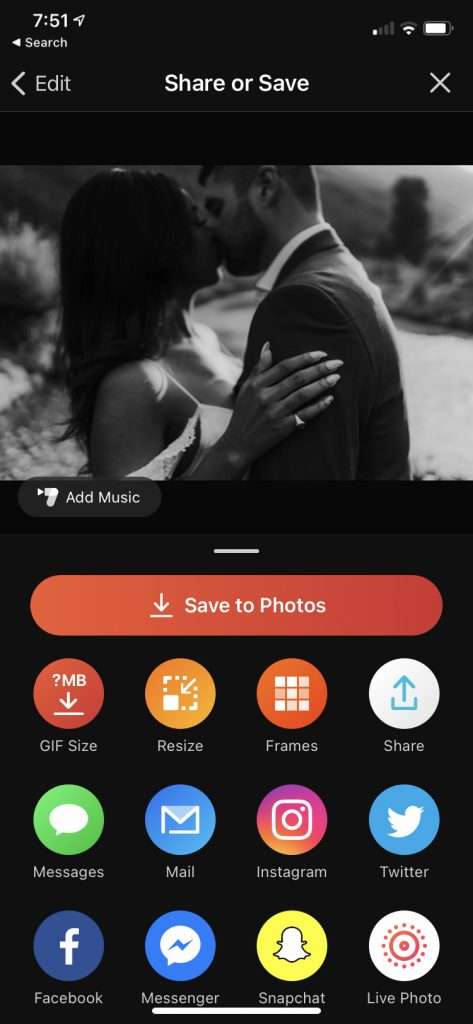
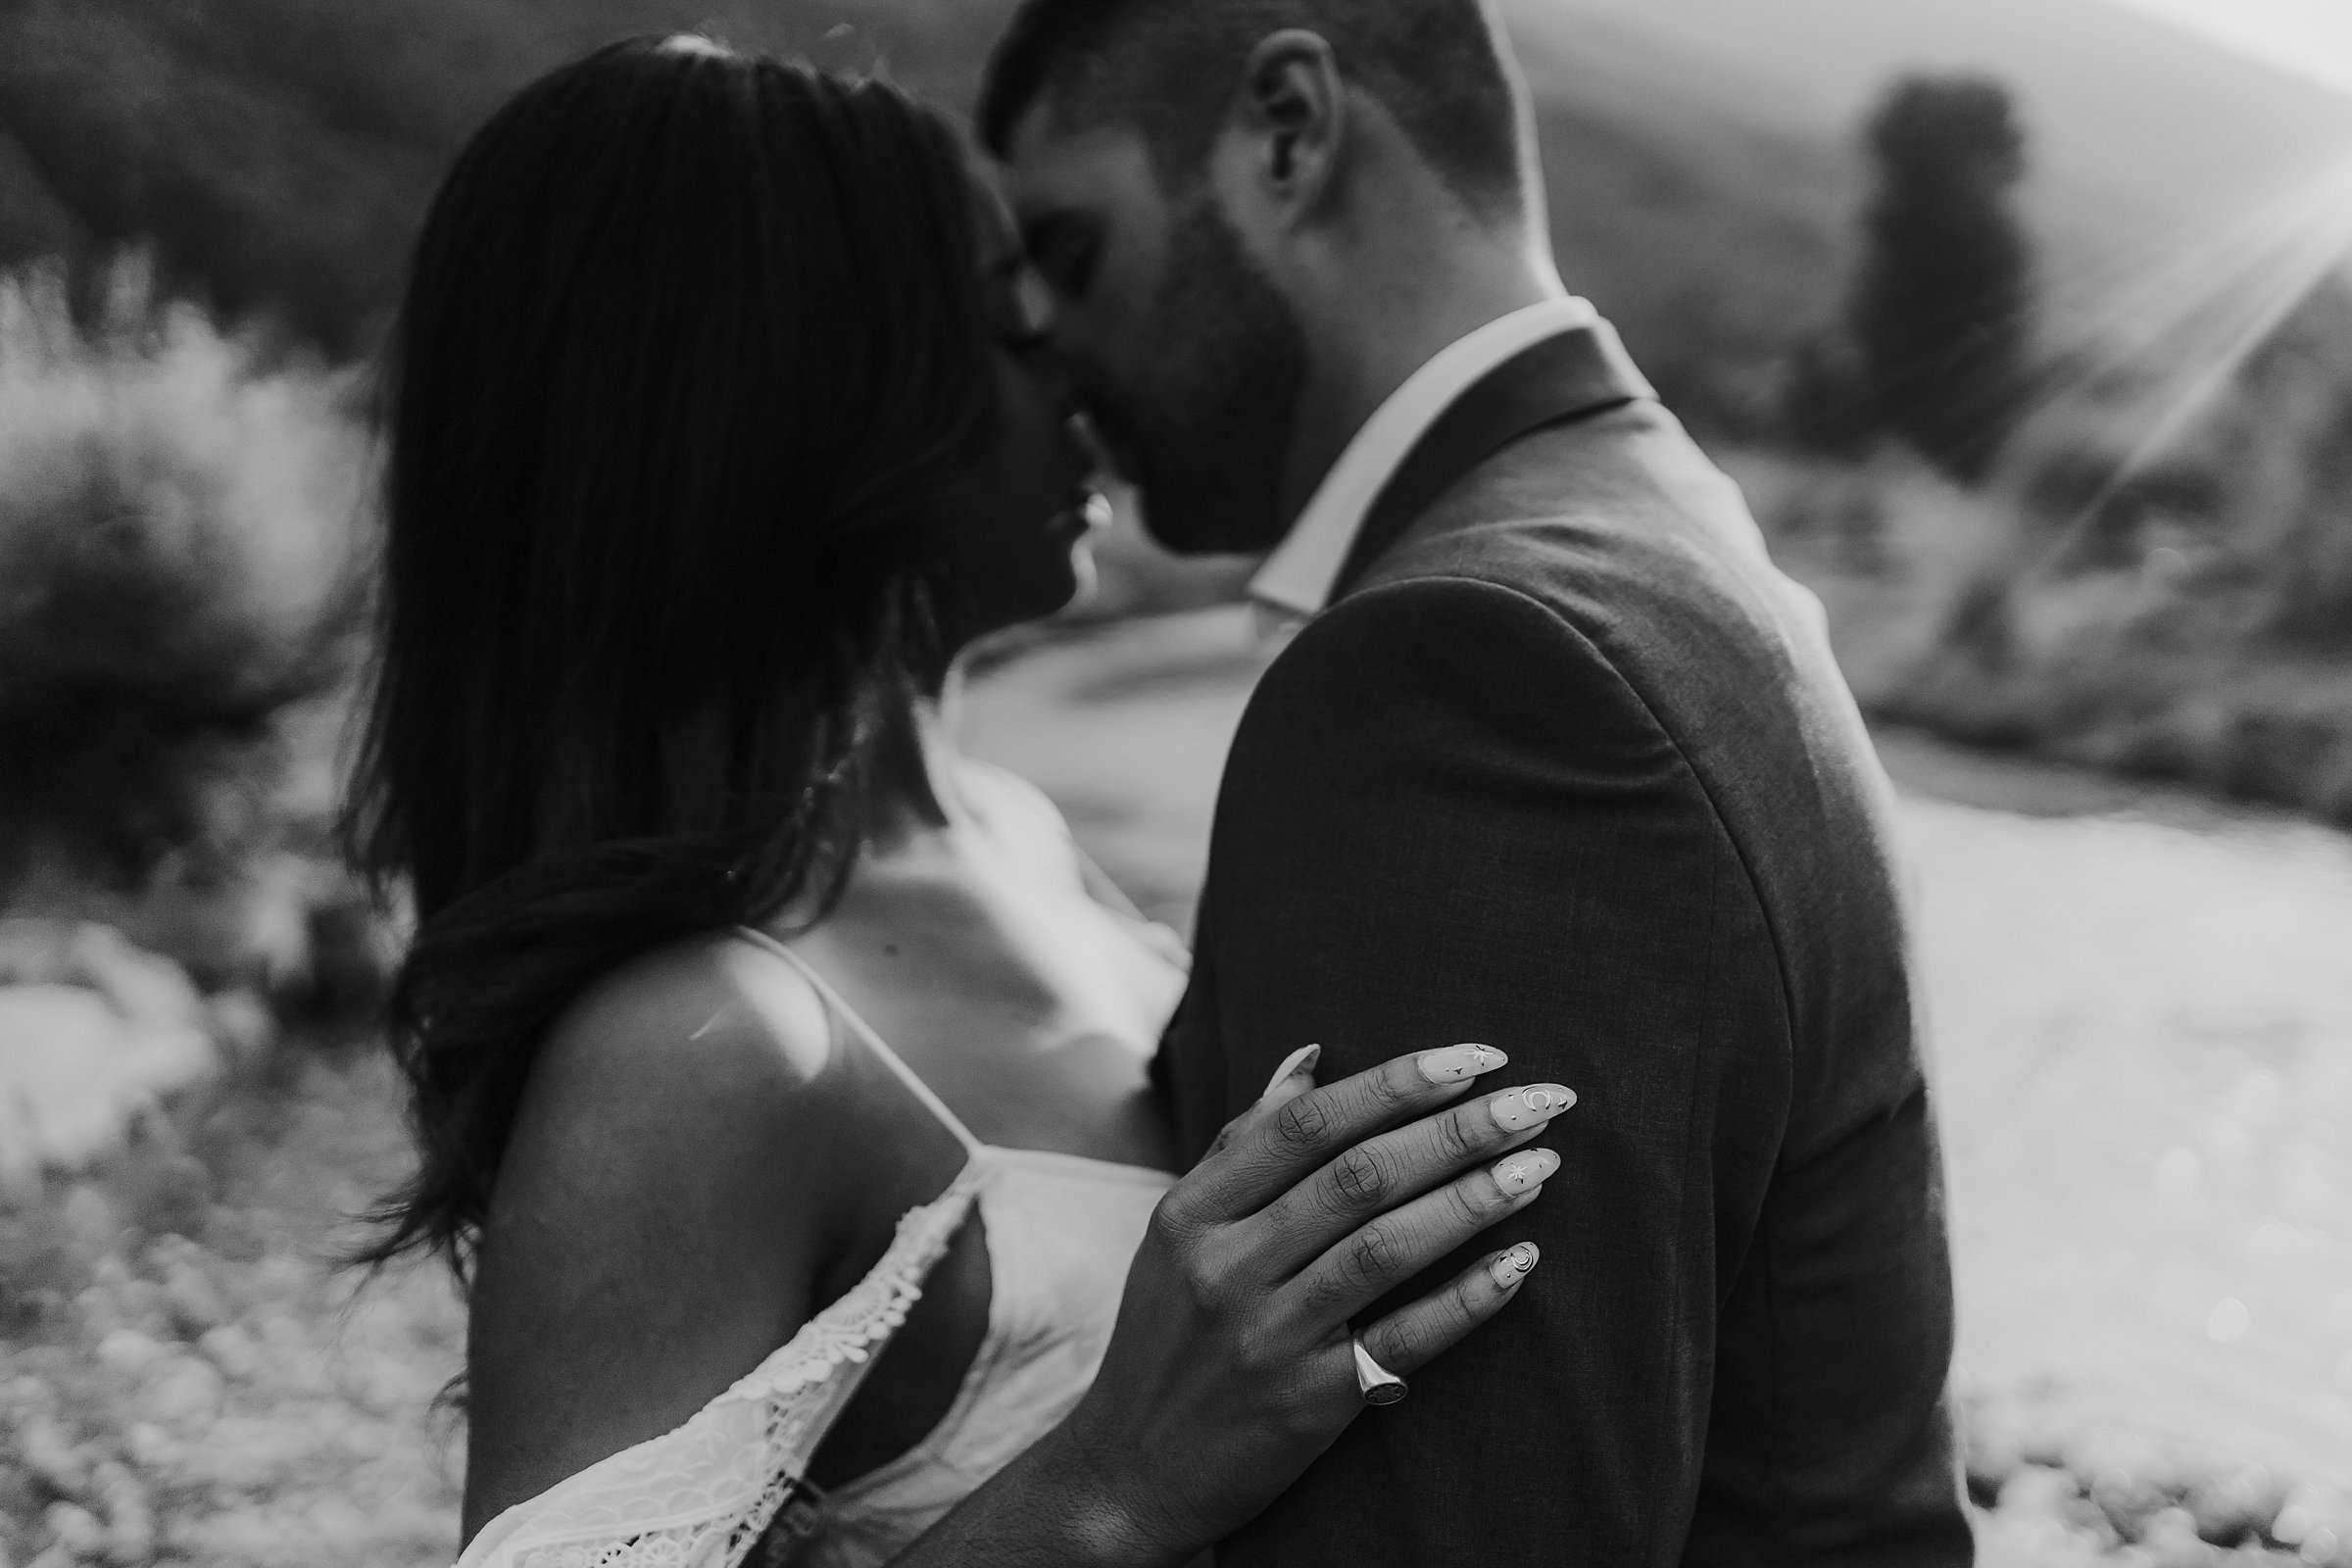
Here is the final!

Here are some other examples

Hope this helps you! Once you start doing them more, it becomes so much easier. Let us know if you have any questions at all in the comments below. We tried to make it as easy as possible.